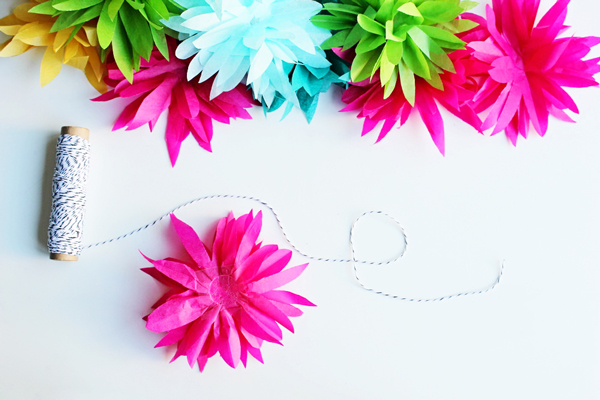
I have always liked all kinds of garlands, and when I found a post about how you make these over at you are my fave I just new I had to try to make my own! Don’t they just make you happy?
Supplies:
tissue paper
scissors
XL Glue Dots I have always wanted to make this garland, but shy away from sewing flowers by hand. I am kind of a klutz and if I know anything it is that I will eventually poke myself. These XL adhesive dots are 1″ in diameter, perfect for making a good sized flower.
The first thing you will do is cut 5″ squares of tissue paper. This doesn’t have to be exact, you are cutting most of it off anyway. Fold ten squares in half. Then fold it in half again. Using your scissors, cut three petals, starting on the fold as shown. It is okay if they aren’t even, variation looks pretty once the flower is made. Cut as many as you need for your garland, I made about 12 for two short ones.
Open the flower and separate the pieces. Take the XL Glue Dot and peel off the top clear layer, this will reveal one sticky side. Take a flower piece and press over your finger to a point, flatten and press into the Glue Dot. Repeat around the edge of the Glue Dot until you have covered the entire outer edge, about 6 flower pieces. Take one more flower piece and press flat over the center. Repeat this for as many flowers as needed.
Once you have your flowers, set out a piece of twine. Flip over a flower and peel off the remaining clear sheet to reveal the sticky side. Run the twine down the center of the Glue Dot. Fold the flower in half towards itself to seal and adhere. Press and fluff with fingers. Move down the line to make more flowers on your garland.


